Showing posts with label Halloween. Show all posts

Wednesday, November 8, 2017

Halloween Party 2017

It's an annual tradition for my daughter and I to host a Halloween party for her and her cousins/friends. We have so much fun doing it, so here I am to post about what fun we had at this years. I hope everyone has had a fantastically spooky month of October and that this post can give you some ideas for fun Halloween games, snacks, drinks and fun in the future!

Here they all are, don't they look so cute? Love all the personality that comes out in the group picture every year. Such a wonderful keepsake to look back on over the years and see how much they all have grown. You can see in this picture a little witch prop we have to take pictures with. It's the perfect size for the kiddos to pose with. A big party tip of mine is having a great backdrop set up to take pictures. This year we went for a lot of spider webbing outside, inflatable bats stuck in, glow in the dark skeletons hanging around, and of course the little witch. You can find all sorts of Halloween character props like that witch at party stores. Looking for good deals after Halloween to use for the next year is always a good idea.


And of course we had to get a mother daughter shot in our Monster High costumes. In this picture you can see more of our spider webbing and decorations, including some characters my daughter actually made on the taped up on the inside of the window, visible from the outside. That's always one of my daughters favorite things to do decorating, she goes outside and tells me where to position them/tape them up.


Now on to more party details! 

I didn't go around and take pictures specifically of ALL of the decor, but the hope was that in the pictures I did take the background would look nice and Halloweeny. So look for decor in the backgrounds of other pictures and I'll be adding in what we did! This was an area that my daughter set up all on her own, it was a little play exploration area for the kiddos and where they could pick up their goodie bags at the end. 


We love using creepy cloth around a lot of the furniture in the room we have most of the party in to up the creepy decor factor. We also love hanging creepy skeletons on the furniture as well, like the bride and clown. You can see all the stuff my daughter set up that she thought would be fun and entertaining for the kids to look at and play around with (skeletons of animals, skeleton rings, plastic snakes/rats/spiders, light up/talking Halloween toys, Halloween erasers, vampire teeth, etc.) There was also a bowl with all of the goodie bags in it.

Food Food Food...


Here was our Halloween party food counter display! We had a Halloween table cloth on the counter, and sparkly jack-o-lantern confetti on it. It started with cute little paper plates and napkins so everybody could grab one and then grab what they wanted. Then we had Dracula Doughnuts, Frozen Brains, Caramel Covered Mini Apples, Pumpkin Patch Snack Mix, Halloween Whoopie Pies, Halloween Frozen Yogurts, and Cauldron Chips & Dip (all recipes below). For drinks we had green hot chocolate, and Putrid Bug Potion. I of course had out my "Eat Drink and Be Scary" sign that I printed out a couple years ago. I also had out some cute little decorations that were like poison bottles with funny names on them, and some skeleton hand tongs. 


Dracula Doughnuts:
Ingredients:
- Glazed doughnuts, we used Krispie Kremes
- Plastic vampire fangs, we used different colors (purple, green, and orange)
- Candy eyes
- Black icing
- Red icing 

Making these is really fun to do with kiddos, so if you're throwing a party for your little one let them help out with these for sure. Helpful tip: spend a little bit of time bending the fangs into position first, so they don't open up a lot once you've placed them in the doughnut. Stick your bent fangs into the holes in the doughnuts, add on the candy eyes, and icings for the hair and blood drips coming from the mouth. I had my daughter use white icing actually to stick on the candy eyes with, and she helped with the other icings as well. 


The kids loved them!


Frozen Brains:
Ingredients: 
- A plastic gelatin brain mold, like this one
- Baking spray, for spraying the jello mold with first to make it easier to get the brain out later

Make the jello according to the package directions for use with a mold, following the tip about the baking spray. I made this the day before the party just to make sure it was ready for the party. I put it on a cool black plate with detailing, perfect to display the Frozen Brains.

Love this picture of my best friends daughter staring at the Frozen Brains.


Pumpkin Patch Snack Mix:           
Ingredients:
- Chex Mix
- Candy Corn
- Brach's Halloween Mellowcreme Pumpkins

All you have to do to make this yummy, fun snack mix is add all the ingredients to a bowl and mix them up a little bit! Salty and sweet, yum!


Halloween Frozen Yogurts:
Ingredients: 
- Yogurt, whatever flavors you'd like. I like to try to match yogurt colors with what makes sense for the shapes I'm making. (purplish/bluish for frozen fingers is perfect, white is perfect for bones) Other colors work for random things, I used pink this year for brains, spiders, and spider webs. Purplish for the frozen fingers.
- Rubber silicone Halloween ice trays, like these 
All you need to do to make these is put the yogurt into the tray, cover it with Saran wrap and put it in the freezer. These are something I would make the night before just to make sure they are ready to go for the party! They should only take a few hours though to freeze up.


Cauldron Chips & Dip:
Ingredients:
- Tortilla chips, scoop style
- Guacamole 
- A cauldron

All you need to do for this is pour a bag of chips into a cauldron, and set out some dip for them as well.


Caramel Covered Mini Apples:
Ingredients:
- Apples, whatever kind you like, I used Honey Crisp
- Melon Baller
- Wilton Caramel Apple Dip
- Halloweeny sprinkles, optional, or other toppings

To make these take your apples and a melon baller and make mini apple pieces. Stick lollipop sticks into your mini apples. Next, heat up caramel according to package directions, and swirl all mini apples in it to coat them. If you want to add toppings dip the mini apples into a bowl of the toppings directly after you coat them in the caramel. Set them a parchment paper covered baking sheet to set, you may want to put them in the fridge depending on how much time there is until your party. 


Halloween Whoopie Pies: 
You can make Whoopie Pies following this recipe, and then you can color the filling like I did (orange, purple, and neon green to look Halloweeny) by splitting the filling into bowls and adding in some drops of food coloring and stirring it in before you add it to the cake pieces. You can also add colored sugar sprinkles to the sides by rolling the assembled whoopie pies in them.

For the Drinks:
I made a drink called "Putrid Bug Potion" that I got the recipe for in a book of Halloween party food ideas that I got from a grocery store a while back, I can't find it online anywhere. But, here's what I used to make it: lime sherbet, a grape packet of Koolaid, ginger ale, and pineapple juice with frozen grapes on top. 

We also had some green hot chocolate that I found packets of at Walgreens. They were in the Halloween section with the Evil Queen from Snow White's face on them.


Now on to games...

We played Halloween Bingo, Witch Hat Ring Toss, Halloween Twist & Shout, and did some cookie decorating.  

 We played Halloween Bingo with some Bingo sheets that I printed out online. You can find them here. We used Smartie's as bingo markers. You can see the table is decorated with a plastic orange table cloth, with a black lace Halloween table cloth over top. There was more sparkly jack-o-lantern confetti out and a spell book for decoration. You can also see some Halloween window clings and jack-o-lantern lights in the background too. This is what I was talking about earlier, having some decorations are to make the background of pictures look great. We played bingo a few times and had some fun prizes that were won.
 Here's one of the prizes, a pink jack-o-lantern cup. You can see some more creepy cloth in the background, and a jack-o-lantern bucket. Little details like that really add to the photos. Also won was a ring pop, a witch hand sanitizer, and a skeleton cookie. You can see in the backgrounds with those prizes in them there's some decor as well. (jack-o-lantern door cover that my daughter made on the garage door, some Halloween crafts she made on the fridge, a witch, etc.

 Here's a picture of Twist & Shout game. It's like a Halloween version of Twister.


They had a lot of fun playing Witch Hat Ring Toss as well. You can see the skeleton door cover on the door in the background, the cauldron backdrop on the wall, and some other decorations adding to the Halloween party cuteness.


And always a favorite, Cookie Decorating


I found a really awesome kit that had pumpkin shaped cookies, green/orange/black icing, and different sets of sprinkles. Cookie decorating is always a big hit at parties with kiddos. They had so much fun decorating their cookies, and it's amazing how different they all turn out when given the same materials. Such a fun, creative process art activity. 

Friday, October 27, 2017

Halloween Frozen Yogurt #2

As promised, I'm back with some more adorable frozen yogurt ideas for Halloween! With the help of some rubber silicone ice cube trays you can make yogurt into all kinds of fun frozen yogurt shapes. We have all kinds of different trays, so here's what I made for the Halloween party we had.


You can use any kind of yogurt you'd like to make your frozen yogurt treats. I like to use a purple or bluish one for the frozen fingers those, that way they look more like literal frozen fingers. If I had had vanilla yogurt, or another white kind, I would have also made the bones. I used this tray to make the spider webs and spiders. I used this tray to make the fingers, and I can't find one online that's exactly like the one I used to make the brains, but here's something similar.

These are always so fun! Kids love yogurt and popsicles, and this is like the best of both worlds!

Thursday, October 19, 2017

Fall Themed School Lunch #6

For this school lunch of my daughter's I wanted to include lots of fall themed details, and they were mostly all edible details! Plus a cute little "mummy loves you!" note with a jack-o-lantern sticker on it. If you're interested in the details for this lunch look below! 


Included in this lunch:
- Pumpkin Sandwich (recipe below)
- Jack-o-lantern Mandarin Oranges (recipe below)
- Trader Joe's Halloween Joe Joe's Cookies
- Trader Joe's pumpkin yogurt, with some chocolate sprinkles on top

Pumpkin Sandwich:
Ingredients:
- Bread of your choosing
- Sandwich fillings of your choosing, pumpkin butter would be a particularly fun and theme fitting choice for this sandwich
- A pumpkin cutter
- An orange food safe marker

Step 1: Lightly toast your bread to get it ready to work with. Just a very light toasting is good! It helps when using spreads and when working with cutters.

Step 2: Assemble your sandwich however you would like with whatever fillings you've chosen.

Step 3: Use your pumpkin cutter to create a pumpkin shape.

Step 4: Use your orange food safe marker to give your pumpkin an outline and some detailing on it. The color didn't show up too great in the picture, but you get the idea!

Jack-o-lantern Mandarin Oranges:
Ingredients:
- Mandarin oranges
- A black food safe marker

Step 1: All you need to do for these little cuties is grab the oranges and the marker and draw a cute little jack-o-lantern face on them.

Hope you're inspired to create a fun fall themed lunch now for your kiddo with some of these ideas! For more fall lunch inspiration click here.

Wednesday, October 18, 2017

Halloween Frozen Yogurt

If your little one likes yogurt then odds are they will love this fun frozen yogurt idea, perfect for Halloween!
 All you need to recreate this is at home is a silicone ice cube tray mold of your choosing and some yogurt. You simply put the yogurt into the molds, cover them with cling wrap and put them in the freezer for several hours. I was going for a Halloween theme so I used one tray that had spiders and spider webs on it, which you can find here. For that I used some berry flavored yogurt so they turned out pink. For the pumpkins and vampire fangs I used two different ice cube tray molds, you can find the pumpkin one here. I used pumpkin yogurt for that which was perfect for the slight orange color, and for the taste to match the shape! My daughter wanted me to make some fangs too, so I also used a silicone ice cube tray like this one to make some with the pumpkin yogurt as well. 

These are always a big hit for my daughter, and our Halloween party crowds. There's many other color/flavor and shape options that we've done. We'll be doing some different ones for our party this weekend that I will be posting so be looking for that! 

Monday, October 9, 2017

Fall Themed School Lunch #3

For a lot of my Fall themed lunches this month I'm trying to make them look Halloweeny. For this one I found a spooky idea on Pinterest and used it, with a few of my own ideas as well. For more details look below, and to view my other Fall themed lunches click here.


In this lunch I packed:
- sandwich squares, made Halloweeny with some jack-o-lantern food picks.
- a little container of mandarin oranges, which I tried to draw a jack-o-lantern face on but my marker wouldn't work because they had been in the fridge. So if you're wanting to put a spooky face on your mandarin oranges, leave them out of the fridge.
- Used Band Aids, the idea I got from Pinterest. I used honey graham crackers, Trader Joe's whipped cream cheese, and some strawberry jam to make them.
- A few Trader Joe's pumpkin spice cookies
- A package of pita bite crackers and hummus
- Some Trader Joe's Orange Peach Mango juice in a little container with a skeleton straw to go with it

Sandwich Squares:
Ingredients:
- Bread
- Your sandwich fillers (use whatever your kiddo likes, I used SunButter and chocolate hazelnut spread
- A FunBites cutter, you can purchase one here

Step 1: Lightly toast your bread (or not, but it's what I like to do when I'm working with spreads and cutters)
Step 2: Assemble the sandwich with whatever you've chosen
Step 3: Use your FunBites cutter and you'll have some perfect little squares in no time!
Step 4: Stick the squares on some jack-o-lantern food picks, or other Halloween food picks for added cuteness and holiday fun!

Thursday, October 5, 2017

Fall Themed School Lunch #2

As I mentioned in my last school lunch post I plan on posting Fall themed lunches for the season. I talked about ways that you can make a lunch fall themed with the use of cutters, food picks, and seasonal items. You can view all of my fall themed school lunches here. For this lunch I packed a simple lunch, with a seasonal food item, some jack-o-lantern food picks, and other orange details. Nothing too extravagant but still cute for fall, tasty and healthy! For details look below!


Included in this lunch is:
- honey goat cheese, in an orange reusable baking cup with jack-o-lantern food picks stuck in
- a brown sugar cinnamon mini bagel, with some pumpkin cream cheese in an orange dip container, along with a child-safe knife for spreading
- pretzel sticks
- a banana apple sauce pouch

Saturday, October 31, 2015

Halloween Party Ideas for Kids

We had my daughters Halloween party a couple weekends ago and I feel really bad that I'm just now getting around to making the post about it but here it is! I hope you're able to get some good ideas for your child's next Halloween party from it.

This one is my favorite picture from the whole party. It's got all the kids together and they are all showing personality and it's just adorable with them all in their costumes!

So I spent a lot of time getting things ready for this party, I decorated a lot and made sure everything looked Halloweeny and prepared  a craft, games, and food. 

For the Decor:
     
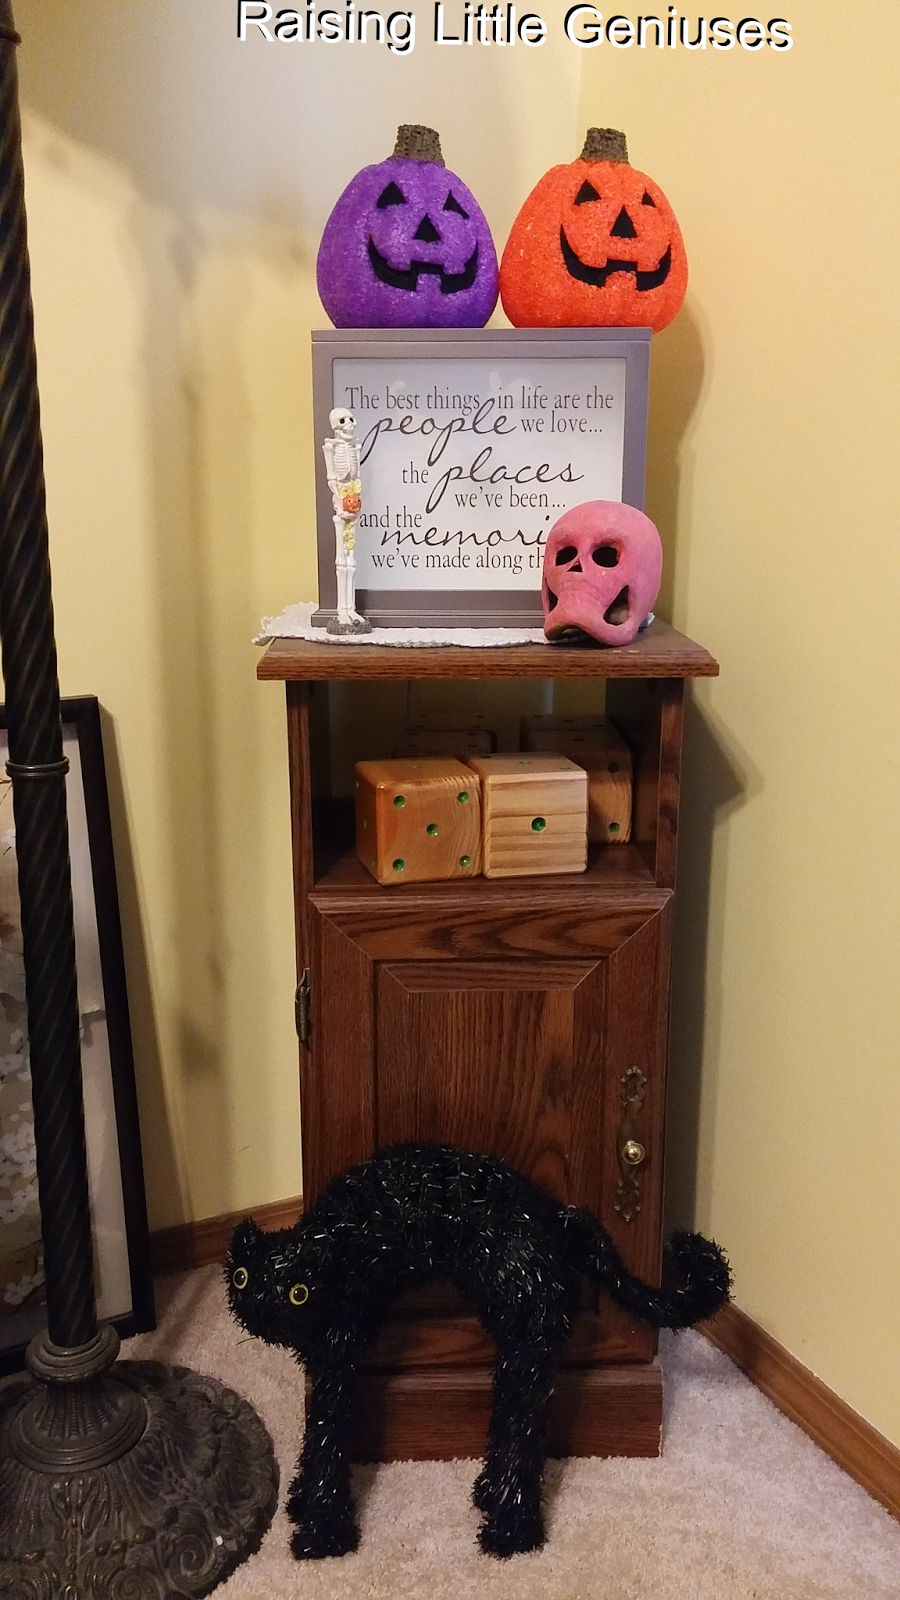
I like to drape those black cloth things over some of our furniture to give it an extra creepy Halloween look, you can find these at Dollar Stores and probably anywhere that is selling Halloween decorations. We've also got a skeleton bride hanging there and a "Haunted House" sign. On the hutch I put 3 sparkly tinsel witches hats that we got a few years ago, a ghost candle, pumpkin candle, paper mache skeleton face my daughter painted and a picture that looks like a man and a dog when you look at it one way and a skeleton and a dog when you look at it the other way. Those pictures are really cool and kids always like them, you can find them at dollar stores.

Here's more of that cloth covering another piece of our furniture. This is where I put the goodie bags on display (will talk about/show those more later). I also had sitting there some Halloween crafts my daughter had made, our craft, and one of our games sitting there.

There's also a ghost craft my daughter made with a cup and some crepe paper on display, and some of our pumpkins in the corner there.


Here we had another one of those cool pictures hanging and then put some of our littler pumpkins on display along with some Halloween decorations.
 
 We have all sorts of these things hanging around the house and on the windows in the front of the house. We like to put them on the doors inside too. There always at the dollar store this time of year and we have quite a few characters, they definitely add to the Halloween look in your home.


Then we just had some more simple Halloween decor like these pumpkin lights and this stuff.

More decor, we had some Halloween/spooky movies out in a stack during the party next to these cute ghost decorations. I did that to just give the house more of a Halloween feel, it's the little touches like these that look great in the backgrounds of pictures, in lieu of a messy array of movies you have watched that month or whatever. And of course Halloween stuffed animals were out on the couch.
 

 Let your kids help with the decorating too since you are throwing the party for them. My daughter was very proud of "her display" she made. And we hung that orange and black door thing for her because she really wanted to have that at the party.


Specifically for the party of course I printed out these super cute place cards from a blog called Deck The Halls.

I let my daughter set them out where she wanted at the table and it worked out really well. Our table had an orange plastic table cloth on it and then a black lace Halloween table cloth. I also had our big spell book on the center of the table.

For the Food:

Really quick I have one more thing to add about decorating! You can see in the photo below how on the fridge there is just a Halloween artwork of my daughters with some Halloween magnets keeping it up. I also had a few pictures of her still up on it higher but I took off all the extra magnets and things. This way when taking pictures at the party the background didn't look cluttered. I tried to make it look as Halloweeny every as possible!

So this was our food display!

I cut a Halloween plastic table cloth down to size for our counter and I put out Halloween paper plates, cups, and napkins. I printed the "Eat, Drink and Be Scary" thing out from this blog. I think it added the absolute perfect touch to the food display! I also set out a few little decorative items like pretend jars that said things like "spooky spider cider" and "skin of toad."
 So for food/drinks we had:
- Vampire Swirl Cake (which I'll share how to make soon)
- Chocolate Pumpkin Muffins, I made these even more Halloweeny by putting them in spider cupcake liners and putting witch hat food picks in them.
- tortilla chips
- pretzels
- guacamole spider web dip. I didn't take pictures of that up close but all you need to do is get a container of guacamole, put some sour cream in a ziploc bag, cut a hole and squirt it on top of the guacamole in a spider web design.
- water bottles
- apple cider

Vampire Swirl Cake Recipe:
Ingredients:
- box of red cake mix and what it calls for (water, oil, eggs)
- whipped vanilla icing
- tube of red icing
- plastic vampire fangs


As you can see my daughter had fun with the icing. This is another part that is great to involve your kids in. Since it is your child's party after all it's nice to make them as big of a part of the planning, decorating, and getting things ready as they can.


So bake the cake according to the directions on the package and you'll end up with a red bunt cake. Once it is cooled you can spread on the icing with a spatula making it as smooth as you can. Then take the tube of red icing and squirt some on it lines. After you have some red on there you need to wash your hands thoroughly and then use your finger to swirl the red icing around until it looks really cool like a "vampire swirl". Stick the fangs in the back and you're good to go!

Eating their cake. Yum!


For Activities:
We played two games, read some Halloween books and had a special dramatic play area set up for the younger guest at our party.

The first thing we did was play Halloween bingo. I printed out the adorable sheets from here. We played it with candy corn and the winner got a sheet of Halloween window clings for a prize.
The second game we played was our version of "pin the boo on the ghost"

We got a white poster board and cut it into the shape of a ghost and used a black Sharpie to give it a pretty ghost face, complete with eyelashes. But the important part was that it had a decent sized mouth since that's where the kids were going to be pinning the boo. I taped the ghost to the wall underneath our "BOO" sign which I thought was really cute. For the boos I cut out speech bubbles from black paper and wrote "BOO!" on them. I had a Halloween bandanna for the kids to put over their eyes but we ended up just letting them close their eyes and giving them a spin before letting them try to pin the boo on the ghosts mouth. For the pinning I just folded some tape and put it on the back of the black speech bubbles before I gave them to the kids so they would adhere to wherever they stuck it. The winner of this game won a child's vampire mask.


For our next activity we had reading. I was going to read a Halloween book to the kids but I ended up letting one of our older guests do it instead. She read Goodnight Goon (which is the book I had picked) and Five Black Cats.
Here's our Halloween book display I had set out. I had most of them in a stack and then a few favorites put up, along with two I specifically thought would be good for our younger guest. If you have young toddlers/babies coming to your party because they are siblings of your child's friends you need to make sure you set up some activities for them too. So I had Biscuit's Pet & Play Halloween sitting out since it's a touch and feel book, as well as Can You Make The Monster Giggle? because it too is a touch and feel and makes noise.

We had one more activity for our younger guest (she is one by the way). 

 
I called it "The Princess Patch" and it was just a Little People vehicle we had that could be used as a hayride, some Disney princess Little People, and some toy pumpkins. One of them lit up.

For Our Craft:
I printed out a "draw the details" Frankenstein face from this website .


So I had the sheets and then a little purple Halloween bucket to put the supplies everyone could use in them. I put out facial feature stickers, bottles of glue, googly eyes, green glitter, and black crayons. This way everyone got to do their own thing and be creative, and there was a variety of supplies so everyone's looked different.


For The Goodie Bags:


 I let my daughter make the goodie bags for each kid. We used paper goodie bags that had ghosts on them which is where I wrote the kids names. Every goodie bag was the same except for the
one for our youngest guest, but I like to label them and put them on display. We gave each guest three skeleton rings, 2 boxes of Halloween stickers, a couple pieces of candy, and a pack of fruit snacks. Our younger guest got stickers, Plum Organics pouch and a piece of chocolate.


There's the display I had for the goodie bags, just put them all out with some Halloween/Fall crafts my daughter had made and two little cute rubber duckies, a witch and Frankenstein.

Photo Ops:
We bought this mummy to tape on the wall and take each kids picture next too all dressed up. Not everyone wanted to do it and that was fine, but the ones that did turned out super adorable and it's a great keepsake. Also great for when you go to make a photo book of this Fall and you want to include cute stuff from the Halloween party.

Other good photo opportunities are when parents are dressed up with their children like I did for my daughter! Also having a Halloween decoration that stands on it's own like this witch is great for the kids to take their pictures next too. The first picture on this post was all the kids and the witch.