Showing posts with label Kids in the Kitchen. Show all posts

Thursday, February 16, 2017

Cupid Smores


 Doesn't that look like a delicious mess? And so much fun for Valentine's Day, or any other time. All you need is some graham crackers, pink and white marshmallows, and Hershey's chocolate bars.


We just stack them up, and then microwave them for about 10 seconds and then gobble them up! These are especially fun to make with the Ever After High Birthday Ball Cupid Doll by your side! Too cute.

Sunday, October 4, 2015

Kids in the Kitchen: Pizza Stuffed Peppers

As some of you may know I am big on kids in the kitchen and I think it's important for kids to learn kitchen safety, and cooking/baking skills at a young age. I'm a firm believer that you should integrate the things that you want to be a part of your children's lives from day one. When my daughter was a baby and I was cooking I would put her in her high chair and let her feel and play with sweet potato peels and things like that, she's always been a part of the kitchen experience. Now that she's older she helps me make several things and can prepare some things on her own.

We made this recipe for pizza stuffed peppers and here's how my daughter who is three and half years old was able to help and do pretty much everything that was needed. 

She washed the peppers by standing on a stool and rinsing them under cold water. I handed her the peppers one by one and took them and set them on a paper towel after she finished.


Then when it came time to cut the tops off of the peppers I took a sharp knife and made a starter cut for my daughter. Then I gave her a butter knife and let her cut the rest of the top off the pepper.

Then I showed her how to use the butter knife to remove the seeds and what not from the pepper, then she took over and did it.

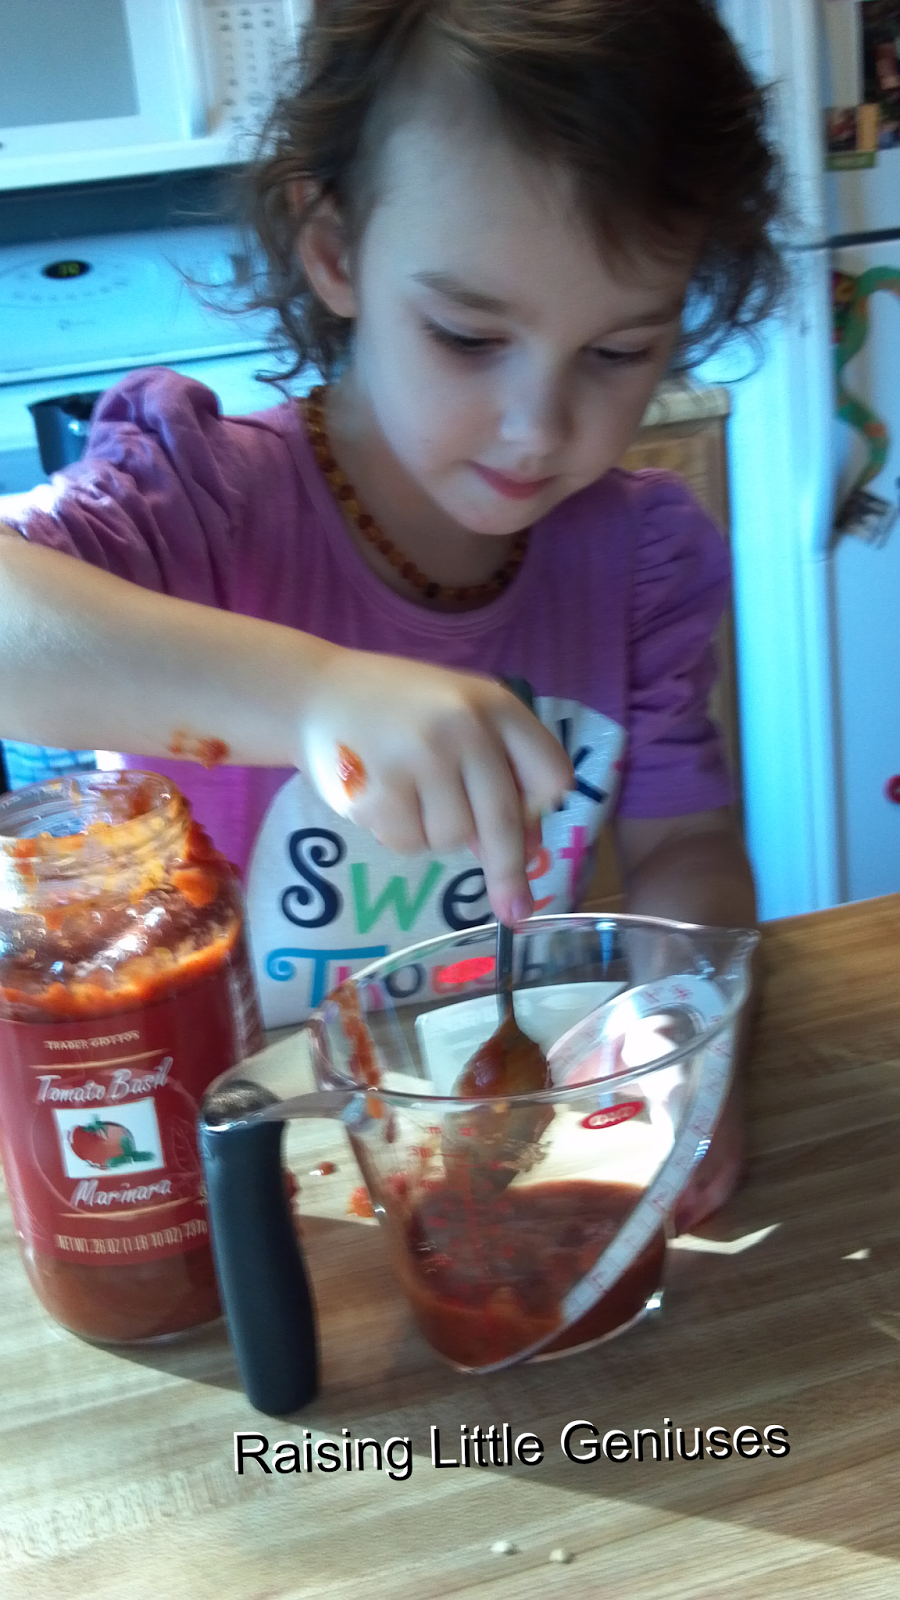
Next it came time to measure out the sauce. I didn't want her to pour it from the jar because there was a lot in the jar, it was heavy, and I didn't want it all pouring out at once. So I gave her the measuring cup and a spoon and showed her the line for how much we needed. She spooned it into the measuring cup until she had the right amount. This is itself is a lesson about the kitchen and life skill of measurement.


This next part some people get really nervous about and just never let their kids anywhere near the stove until they are 12 or older. I want my daughter to know how to properly handle being near a stove, and I of course am always right there with her. It's also just a safety thing for me that I wanted her to learn, she understands what parts are hot and is extremely cautious. And of course everyone knows their own child and not every child is mature enough at three to handle stirring something on the stove without getting burnt. Do not try this with your child if you know they won't take it seriously. This is something we have really worked up to, starting with me holding her while I would stir something (of course nothing that would be popping grease or something like that) and now having her standing on a stool and stirring the things we are making together. This recipe was great for this because these ingredients just needed to be heated a bit and stirred together because it was going into the oven afterwards.


I put the heated mixture into a bowl and then I put a pepper into another bowl so it would stay standing up and gave her a spoon so she could put the mixture into the peppers.


This final picture really shows how rewarding having your kids in the kitchen is. She was so proud of the food she had made when it was done. I have read that picky eaters are more likely to eat things that they picked the ingredients for at the store or helped to make, and my daughter loved this meal. She's not super picky to begin with though.


Saturday, August 29, 2015

Cashew Butter Cookies

I love love love being in the kitchen with my little girl and baking with her is always a treat! In this post I'm going to share with you how we make Cashew Butter Cookies. I found a recipe I loved for them and I'll share it here, but I specified a few of the ingredients we use when we make them and gave steps for how you can make them with a child. 

This time we made Cashew Butter Cookies, they're very similar to peanut butter cookies but way yummier! These make a great dessert for any time and especially if you're going to be around someone who has a peanut allergy or if you or your kids do. These cookies will be gobbled up in no time no matter who you're serving them too, and I feel good about the healthy ingredients in them.

Cashew Butter Cookies Recipe:

Ingredients:
- 1 1/2 cups all purpose flour (Trader Joe's Unbleached All Purpose Flour is my personal favorite)
- 1/2 tsp baking powder
- 1/2 tsp baking soda
- 1/4 tsp salt
- 1/2 cup Earth Balance Original Natural Buttery Spread, room temperature
- 1 cup of raw sugar (We like Sugar In The Raw)
- 1/2 cup creamy salted cashew butter (Trader Joe's brand  for us)
- 1 egg
- 1 1/2 tsp vanilla extract

First preheat the oven to 350.

Step 1: Teach your little one how to measure out the dry ingredients and level them off. Then let them put the flour in a medium sized bowl and use a fork to remove any clumps.

Step 2: Have them add the baking powder, baking soda, and salt to the bowl with the flour and use the fork to mix them all together.

Step 3: Get out a bigger mixing bowl together and put the butter and sugar into it together. When we use the buttery spread I don't worry too much about it being room temperature since it's already pretty soft, but getting the amount you need out before doing the first two steps can be a good idea.

Step 4: Get out the mixer and cream the sugar and the butter together. When we do this I let my daughter hold on to the mixer and then I take my hand and place it on top of hers and control most of the movements, but this way she is learning how it's done and is still a part of the process.

Step 5: Now, add in the cashew butter, egg and vanilla extract. You're going to beat it in with the mixer until it is smooth. Again, I'd do this the way I mentioned in step 4.

Step 6: This next part can get a little tricky with kids if they're wanting to dump all the dry ingredients right into the mix, but you can explain how you're going to gradually add the dry ingredients to the large bowl and use the mixer on low speed to blend it into the cashew butter mixture you've made.

Step 7: Now you and your child can get your hands dirty and make little balls for the cookies, about 1 inch in size and put them on a baking sheet that has parchment paper on it. Explain to your child how you leave a little bit of space between the cookies so they don't bake together.

Step 8: This is my daughter's favorite part (in the picture above), once all the cookies are on the baking sheet get a fork a little bit wet and do a demonstration of rocking it back and forth on the cookie in a criss-cross fashion to make a pattern on it, then let them do all the rest of the cookies. They will definitely feel like they're putting their special touch on them.

Step 9: Bake for 11-13 minutes, until the edges are looking a little bit golden brown.