Tuesday, April 7, 2015

Butterfly Book PB&J

For National Peanut Butter & Jelly Day I made my daughter a special sandwich! I made her one that looked like a book about butterflies.

Beautiful right? Looked even more like a book that would open in person!

First, I lightly toasted two pieces of bread. Then I used spread some organic peanut butter on both pieces of bread, then used my PopChef to cut a butterfly out of one piece of the bread. Then I spread some organic jelly on the piece of bread without the butterfly. Then I put both pieces together, and pushed down around the edges to make the crust easy to cut off. I cut all but the left side off, well I cut a tiny bit of the left side of the crust off, and then folded it over and pushed down hard to make it stay. Those are the only steps you need to take to make a butterfly book pb&j!

Wednesday, April 1, 2015

Our Family Foot Book 2015

I feel so bad for taking so long to post this, but it's a time consuming post and I just couldn't get around to it until now! I know I said on IG that this would be up like the night we did it..but yeah, life happens! But, this is an activity that we do annually, every Dr. Seuss Day. 

We make a family foot book inspired by the Dr. Seuss Foot Book. I gather some ideas for footprint crafts from Pinterest, and I come up with some on my own. I use some of the lines from the Foot Book and then come up with the rest. I like to make it rhyme.

This year I put my daughter's foot prints together to make a heart shape and then used a Sharpie to make the outline of a heart around them. I of course wrote the title "Our Family Foot Book 2015."

 I started with "left foot, left foot, left foot" like in the book by doing my daughters left foot print three times in a row on one page.
 Then came "right". My daughter insisted on using "disco paint" for it.
 Then I did the "red feet" line with each of her feet red foot prints.
 I let her pick when she wanted me to do my footprints and she chose me to do the "black feet" line so I did each of my feet in black.
 Then I came up with some lines. I came up with this footprint idea on my own too, "A foot at night" was a blue foot print horizontally on the page like it's laying down. Then I painted some silver stars on it, and a yellow crescent moon next to it. I wanted to give it a night cap but didn't want to risk painting it and messing the whole thing up.
 Then to rhyme with it I did "feet that take flight" The butterfly footprints however were an idea I saw on Pinterest.
 Then we did "mommy has a big foot" with my purple footprint horizontally on the page.
 Then "Charlie has a little foot" in purple horizontally on the page.
She wanted my foot in green for the "one foot"

 Her feet in pink for the "two feet"
 I saw this footprint craft on Pinterest, but came up with the rhymes myself. "An ice cream foot that is super sweet"
 "A rainbow foot that can't be beat." For this one I painted her foot one color at a time in the colors of a rainbow from red at the toes to purple on the heel.
 Saw this footprint idea on Pinterest. "A bird foot going tweet" again, my wording though. Just painted her foot brown, did the footprint, then used some red paint to give the bird a belly, feet, and a beak. Used a Sharpie for the eye once it was dry.
 "A car foot going down the street" I used blue paint for her foot and put it on the page horizontally. Once it was dry I used a Sharpie to give it some wheels, then used silver paint to add to the wheels. Sharpie made the lines for the road, then yellow paint made the dashes on the road and the headlight for the car.
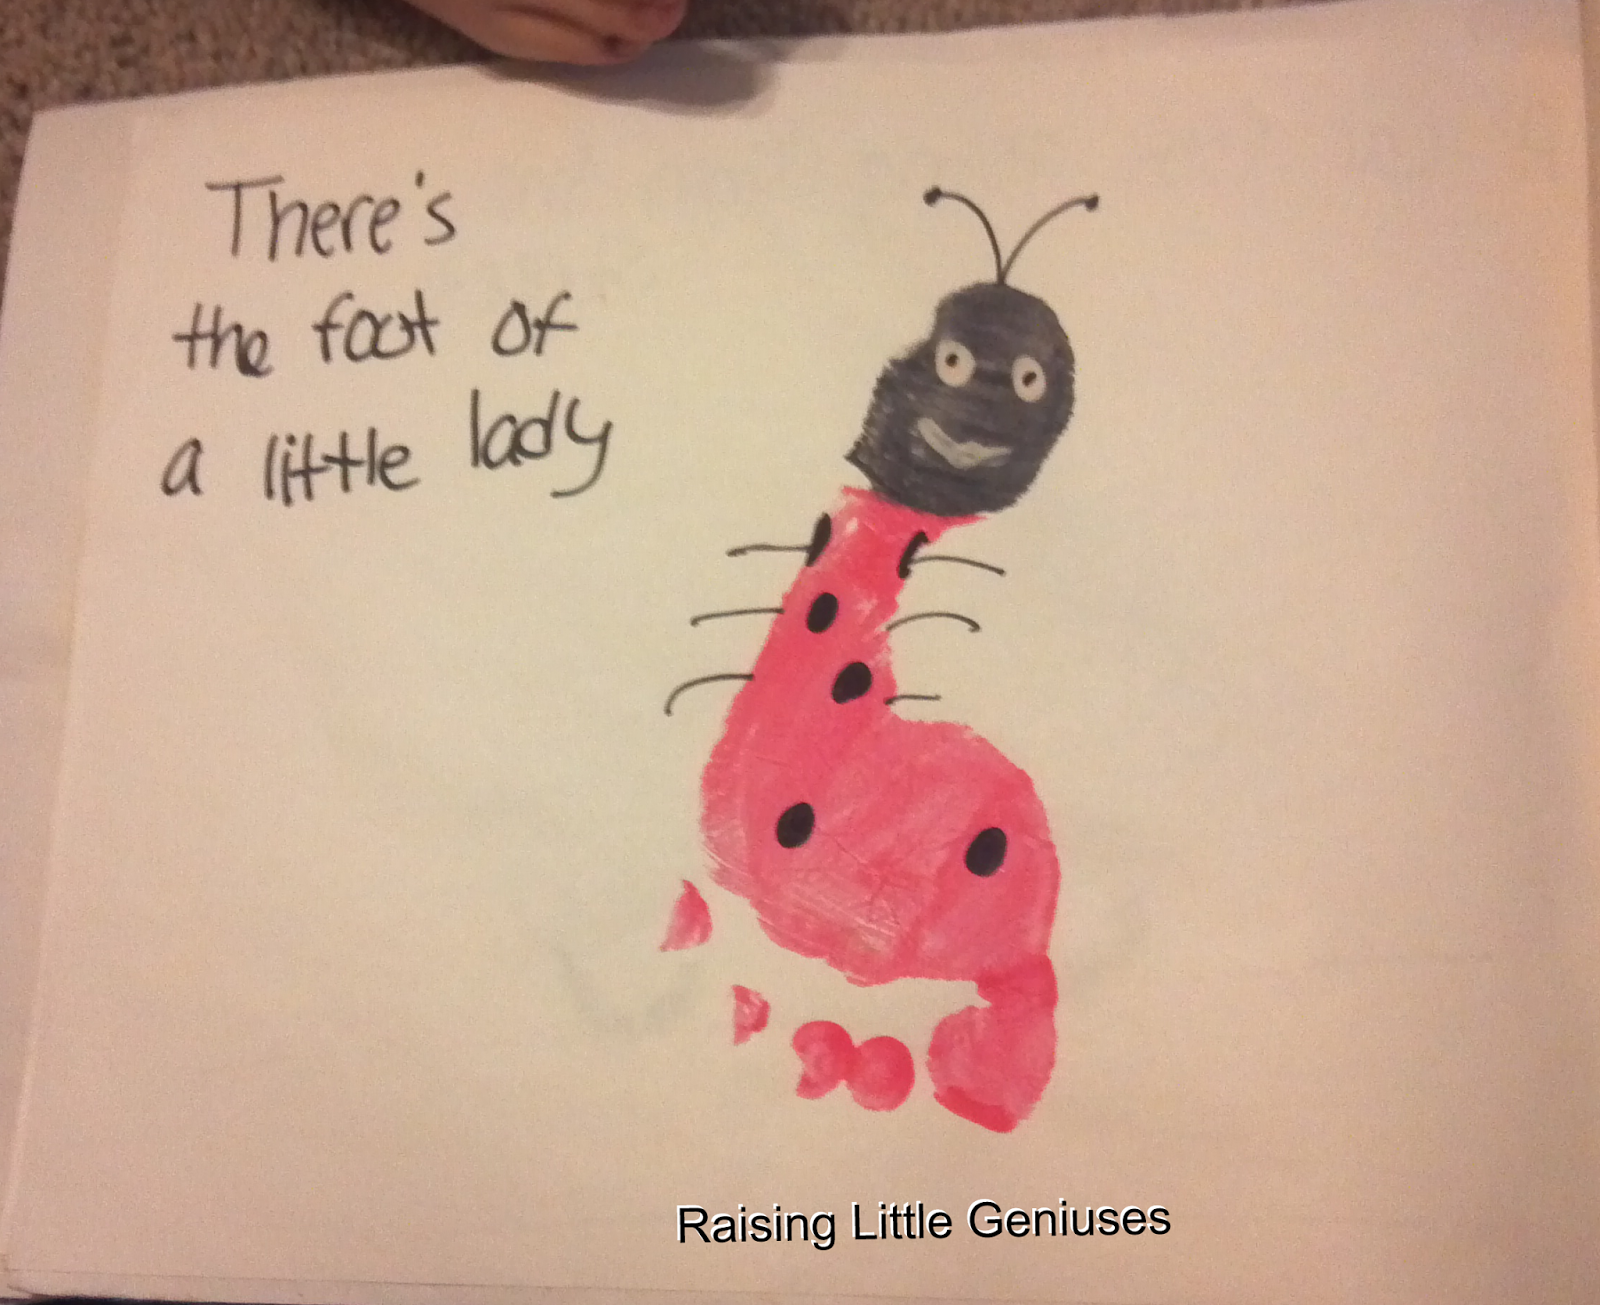
 Saw this footprint on Pinterest, wording is from me. "There's the foot of a little lady"
 "and one that is shady" This footprint was my idea and a really good one, but it was a bad time when I was adding the details to this one so it didn't turn out as perfect looking as it could have. I did her footprint in yellow horizontally on the page, then once it dried I used a Sharpie to draw sunglasses on the foot's "face" used blue paint to make an ocean, brown paint to be sand that the foot was laying on, and red paint to make an umbrella for the foot to be under. Used Sharpie to make some dots on the brown paint to make it look more like sand,
Finally, I did my foot in red and her foot in white on top of mine so it would show up, and wrote "Our families feet are pretty neat"

You'll notice I alternated every now and then as to which foot I was doing prints of so both were represented a fair amount.

After every page was completed and dried I used a glue stick to glue the pages together in twos, in order. Then I stapled all the pages together to make it into a book.


Bird Themed Sensory Bath

So, this is by no means like some of my other very thought out themed baths I have posted in the past. My daughter asked me right at bath time the other night to make her a bird themed bath, and I'm going to share my impromptu ideas with you, because she actually did like it a lot!

First for the paint. I made the bath paint by mixing shaving cream and some blue food coloring in a little bowl with a paint brush. I chose blue because I was thinking blue bird. Then I stuck in some feathers that we had in our craft bin, and put it out on the side of the tub with a little owl bath toy.

Then what made a really cool sensory experience and made me decide to share was the feathers in the water. Not to mention how beautiful they looked when floating!

A big part of sensory play for kids is discovering new tactile sensations they haven't experienced before. Feathers in water is surely a pretty rare one. So, you can add feathers to a bath of yours for a simple bird themed sensory bath like this, or just put some feathers into a bin of water for some water play featuring a new sensory experience.

As you may have noticed I colored the water a bit, and it's not pictured by I also tossed in some plastic eggs because we have them out since Easter is coming up, and hey birds do come from eggs! Plastic Easter eggs always make a great addition to a bath, and I can't wait to do my daughters bath filled with them on Easter!

Flower Shaped Fruit Pizza

As you may have noticed, I LOVE fun kid food. 

Here is another idea, like the Princesses on the Avocado Dip Pirate Boat Snack, I got the original idea from Super Healthy Kids. Here's their post that inspired me. I made a few changes to the recipe, and presented it in a different way so I thought I'd share!

Flower Shaped Fruit Pizzas:

Ingredients:
- flour tortilla(s)
- dairy free vanilla yogurt (there's many options, almond, coconut, soy, etc.)
- some diced up fruit of your choice. I used strawberries, blueberries, and red grapes.

To make the flower shape you'll need a PopChef or a flower cookie cutter

You just put the tortilla down on a chopping mat, and use either tool to make as many flowers as you can/want to out of the tortilla, depending on how many kids you're serving.

Then spoon a little bit of the yogurt onto each flower and spread it around with the bottom of a spoon. Then top with fruit. You could also let the kids decorate their own, would be fun at a play date!

Star Sandwich & Fruit Kabob

Are these super cute or what?! My daughter woofed down one and then asked for another! 

Presenting food to children in a visually appealing and bite sized fun way can encourage them to eat more. These kabobs are very nutritious, I'll add the recipe below.

Star Sandwich & Fruit Kabob 

Ingredients:
- whole wheat or honey wheat bread
- organic almond butter (or whatever spread you'd prefer)
- organic raspberry jam (again, whatever you'd prefer)
- some rather large strawberries

Also, you will need a PopChef for this, or a small star shaped cookie cutter. Bamboo skewers come with the PopChef or you can purchase your own too.

I always lightly toast the bread when I'm making my daughter a sandwich, for a few reasons. The warmth of the bread helps spreads to smooth out, the light toasting helps it to keep it's shape and not tear or look silly when I'm using cookie cutters or the PopChef on it.

So after you've lightly toasted your bread, put some almond butter on both sides. Then smear some of the jam onto one side of the bread. Close the sandwich, put it on a clean surface and push it together a bit making it as big and together as it can be. Then use your PopChef or small star cookie cutter and make as many stars out of it as you can.

Wash your strawberries, and you'll probably want to cut them lengthwise two or three times and then make stars out of each of those pieces. Do your strawberries however will get you the most stars.

Then put them on a bamboo skewer in alternating order, give to your kiddo, watch their face light up and enjoy!