


First, you'll need to get out all your ingredients. My daughter loves helping get everything we'll need and set it all out on the counter.

You'll need:
- All-purpose flour (I buy a huge bag from Target that I use only for sensory play/paints
- Neon purple food coloring
- Green food coloring
- Yellow food coloring
- Neon pink food coloring
- Water (you'll end up needing quite a bit more than a cup if you're making big batches like we did)
- Something to put the paint in (pictured is our paint palette, but we actually used 4 regular bowls to make the paint in, you'll see them further down)
- Spoons
- A fork
Note: If your bottles of food coloring don't have the squeeze one drop out at a time function like ours did, you might want to use a pipette or eye dropper to add the food coloring in to the paints so you don't add too much. You probably won't though cause quite a bit is still needed to get any color at all, but I know I'm guilty of pouring out way more than needed with the open/pouring style food coloring bottles.
So, depending on how thick you want your paint to be how much flour and how much water you use will vary. I didn't measure out what I was using, it's not an exact science. You can add some flour to each bowl first if you want, or just go one at a time. Use a fork to get the clumps out of the flour before you add the water, I forgot to do this the majority of the time and our paints ended up having some clumps in them. Then add water and mix the two together, adding more water or more flour to get the finger paint consistency that you're after. My daughter enjoyed the mixing!

Once you have that mixed pretty much all the way you can start to add the coloring. Obviously you only use one color per bowl. Start with a drop or two and add more as needed to get the right color. I seemed to need to add some more flour after this step to thicken it up more and help the colors look more pastel, but things might go differently for you depending on how much of what you already used.
When you've got all 4 paints made they should look something like this

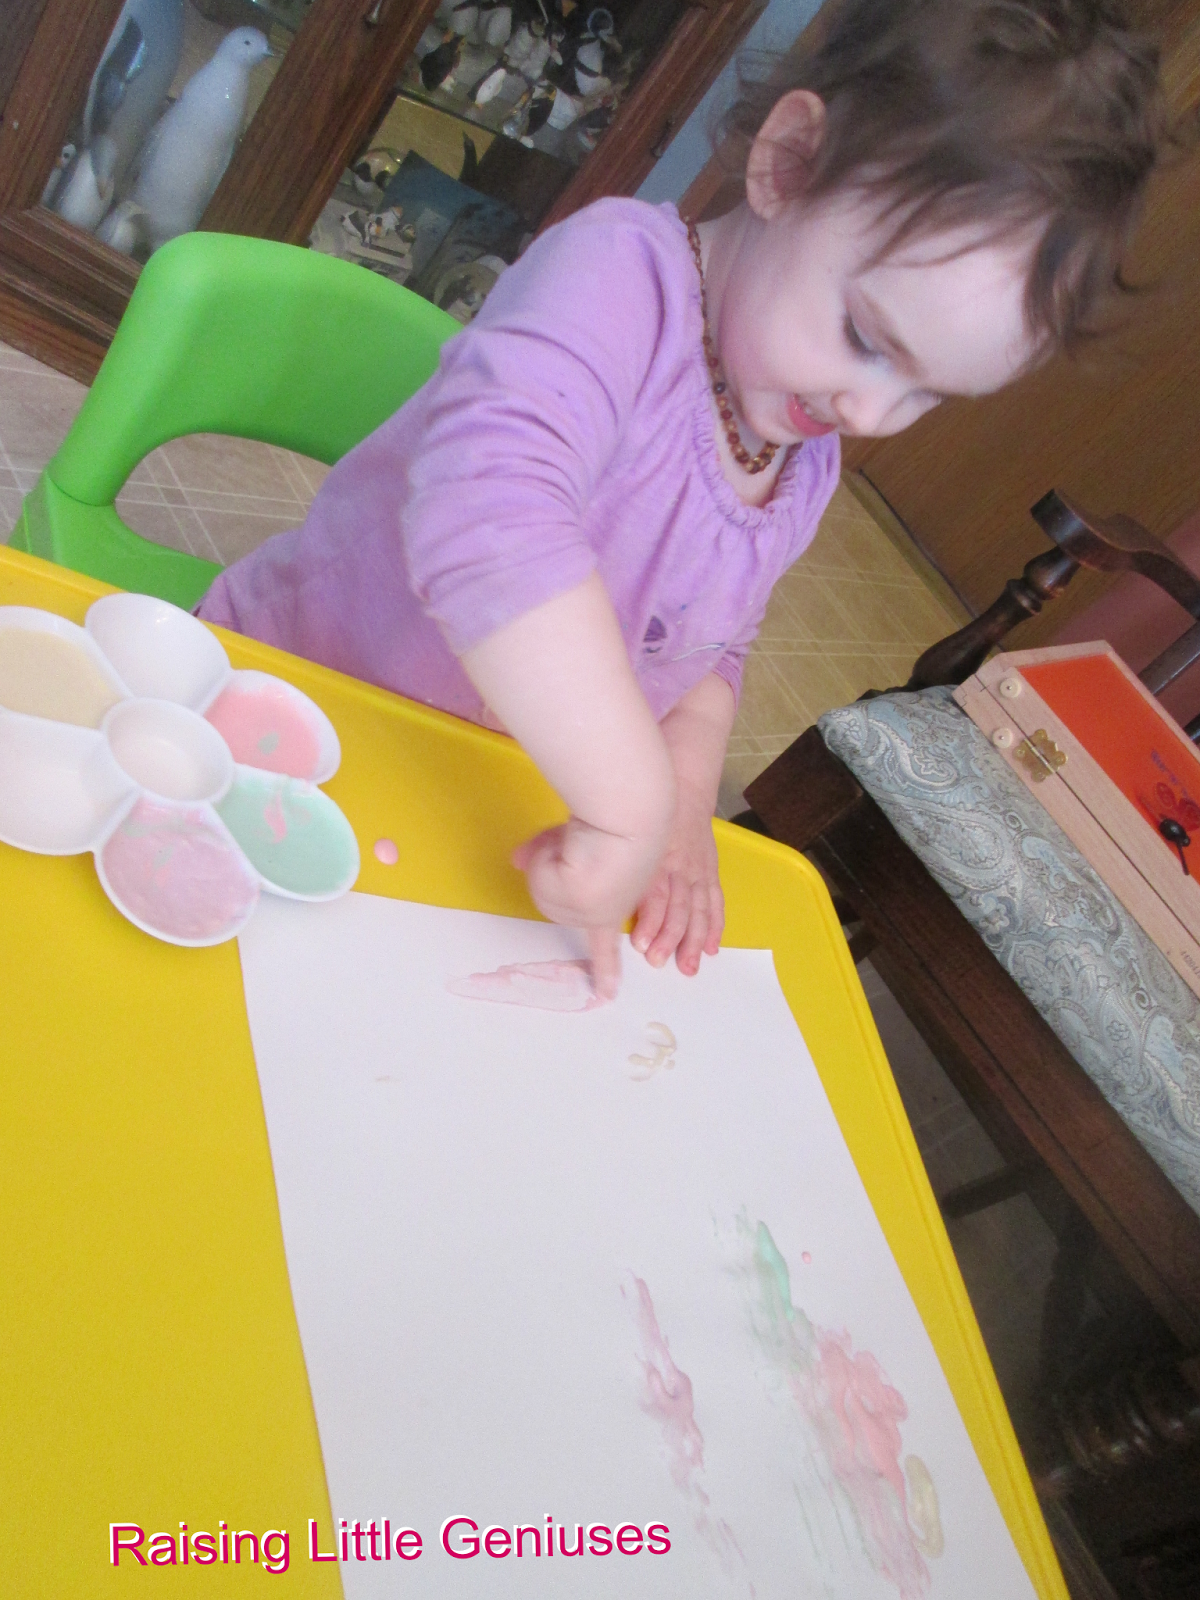
You can see how some of ours were a bit clumpy, and how we had more of some colors than the others. I spooned some into my daughter's paint palette so she could get creating without having all 4 big bowls in front of her.

She got right to painting!

Note: This paint either needs to all be used the day it is made, or stored in the refrigerator. It will get funky not since there is food ingredients used to make it.
No comments:
Post a Comment